

New Goodies!
Happy Saturday Everyone! It's starting to get chilly outside. Perfect weather for getting warm by the fireplace and crafting the day away. So why not craft an actual fireplace? Our new Fireplace Shrine Kit will have you feeling all warm and toasty inside!
In addition to the new goods, the general Christmas Section has over 600 fabulous goodies (all on sale) and our Coffee Break Design Christmas Section is sure to inspire.

Art Time!
I had a blast playing with the new Fireplace Kit! As soon as I designed the Fireplace, I knew there had to be BRICK. And so the wheels started turning. I LOVE the way the brick turned out, so thought I would share with you!
Fireplace Shrine Kit, Large Brick Stencil, Finnabair Modeling Paste, Oxblood Acrylic Paint, Archival Ink Sepia and Black, Matte Glue N Seal, Merry Christmas Embellishment, Christmas Red Stickles, Mini Frosted Pine Cone, 1 Inch Brown Deer, 1 Inch Tree with Snow, 1.5 Inch Tree with Snow, Mini Red Sled, Battery Powered Votive Candle, Glitter Jingle Bells, White German Glass Glitter, Aleenes Glitter Snow, White Mica

Once my main piece was assembled (so easy!), I painted on one coat of white acrylic. I purposely let some of the Masonite show through as I was going for a distressed look. Keep in mind, your "grout" and brick can be any color you choose. Black would have been pretty cool too!

I knew I wanted my brick to be raised, to mimic the real thing, so I gave the Finnabair Modeling Paste a try. You can mix it with paint, so I added Oxblood. It looks sort of pink in this photo, however in person it's a lovely "brick red".

I simply placed my stencil over the fireplace, spreading the paste with a palette knife. The paste is thick and heavy, so once I started the stencil was pretty anchored. I still held it in place, but it didn't require much effort.

When you life your stencil, be sure to lift straight up. I did all four sides the same way, speeding up the drying time with my heat gun. This worked great and didn't harm the paste. I did a few touch ups using my acrylic paint once the paste was dry.

To create a distressed look, I first added some Sepia and Black ink to my white areas, and then dry brushed some cream acrylic paint over the brick. This is the point in which I fell in LOVE!
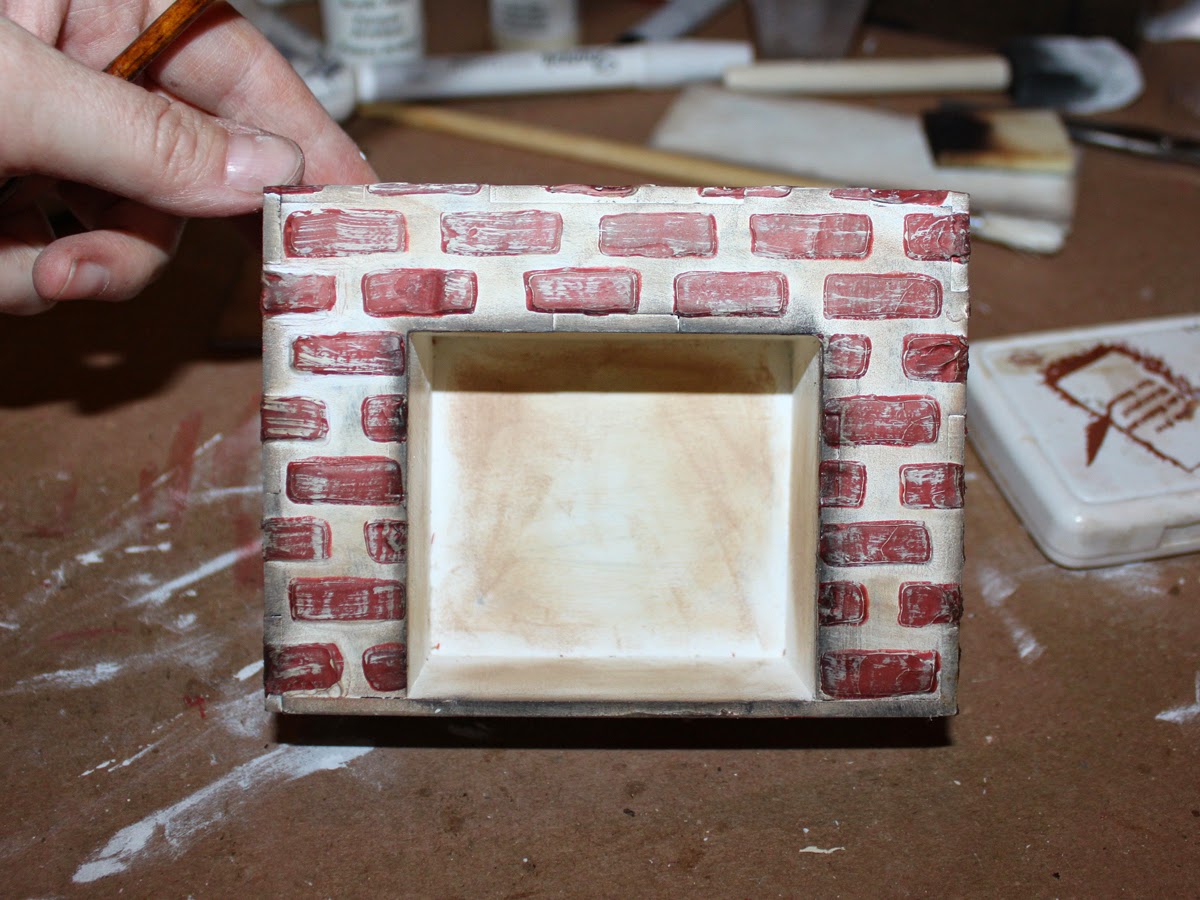
The distressing made all the difference!

Next I attached my base and mantel top.

The brick looks so cool! Even better in person, as you can really see the texture. TIP, when placing your stencil, line it up with the adjacent side. See how the bricks line up below?

I think lining up the brick really helps! Details!

Finally I added tons of Minis! TIP, once you cut the ornament hangers off of the "Merry Christmas" a touch of Christmas Red Stickles hides the cuts! I love the Chipboard Christmas Stockings. Of course I designed them for this kit, but they are also awesome on ATCs, Tags, Etc. I left mine raw (with inked edges) to mimic burlap :). I placed a battery powered votive candle in my fireplace. The candle slightly flickers, so it looks amazing! This would make a great gift for someone. The most creative candle holder they've ever seen!
We recently moved and found out that our new fireplace needs a major repair before we can operate it. At least I now have one working fireplace in the house! ha! Stay warm my friends! xo

Inspiration By Diana Darden!
This gorgeous "Stories" Angel Articulated Art Doll is by Diana Darden! I adore her sparkly wings and of course her fabulous vintage lace skirt. Just stunning Diana!

Inspiration By Tracy Delisle!
I absolutely heart this Folk Heart Shrine by Tracy Delisle! The distress finish is spot on and the quote is perfect! Beautiful piece Tracy!
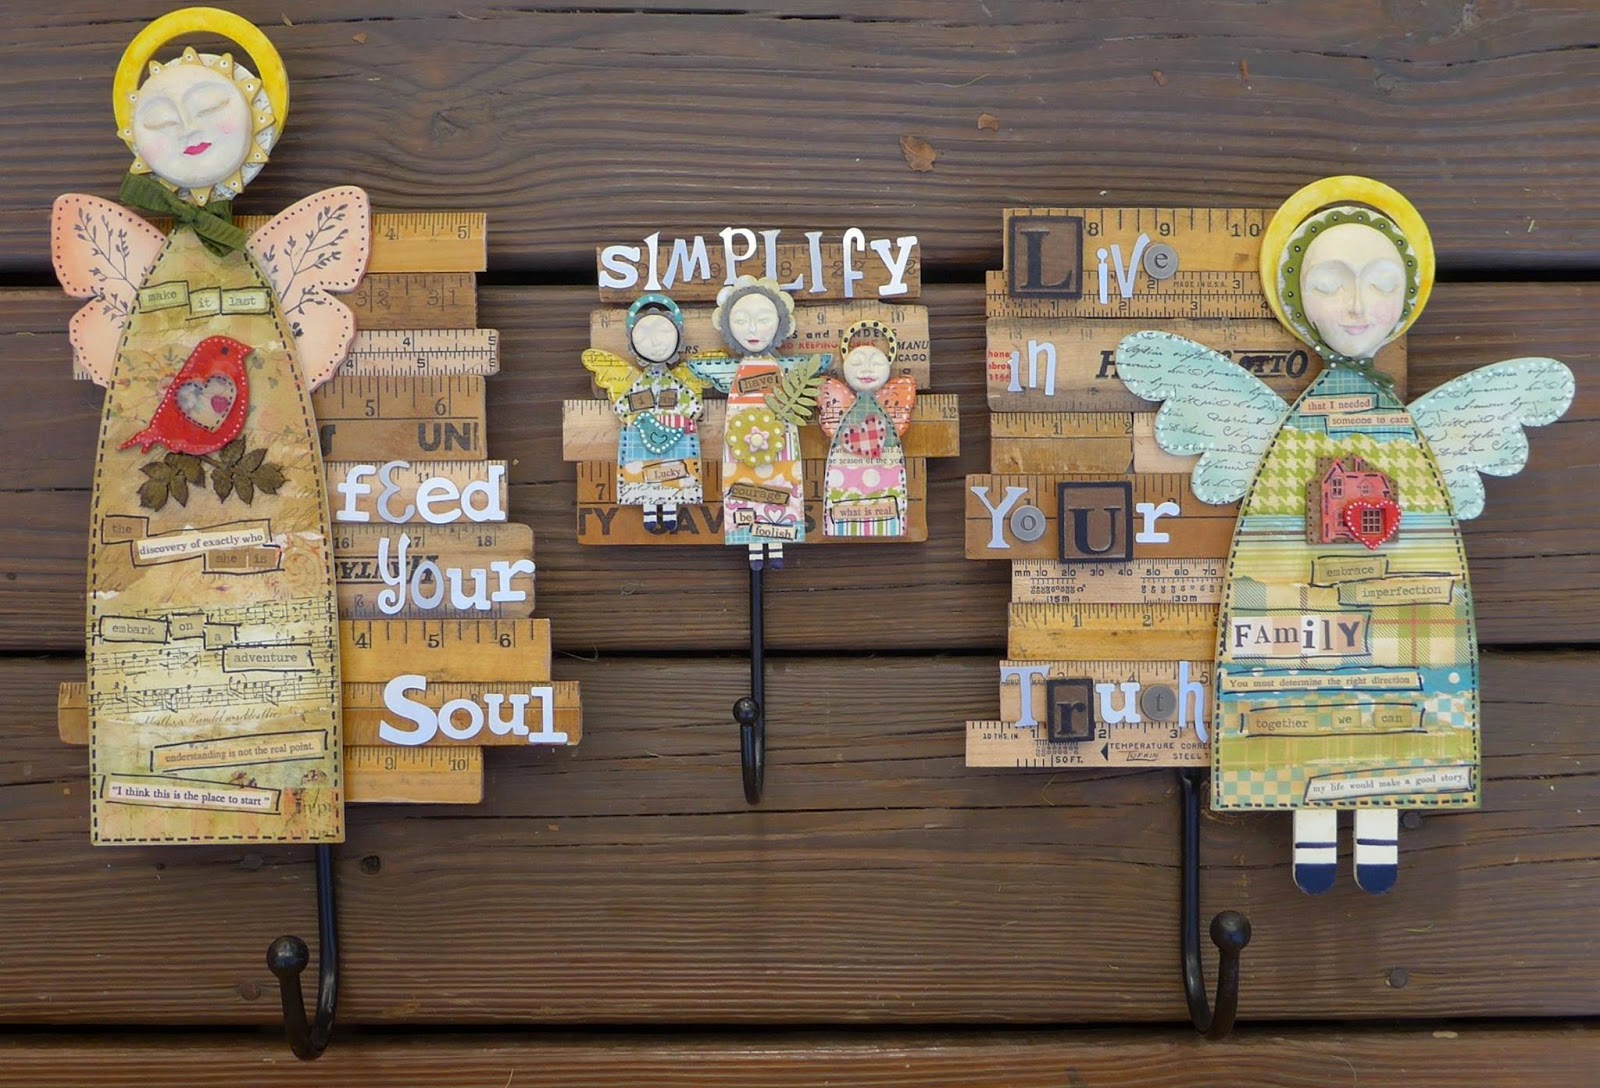
Inspiration By Linda O'Connor!
These fabulous Primitive Angel pieces are by Linda O'Connor! Of course I'm in love with her ruler bits and clay faces. These pieces are amazing and FUNctional! So awesome Linda!

Inspiration By Sherry Matthews!
Fairy Head Paper Cuts, Ballerina, Bottle Brush Trees, Gilders Paste (cream and gold), Finnabair Art Sugar, German Glass Glitter, Glitter Snow, Mini Baroque Frame Cut Outs, and Flat Backed Pearls. This piece is so magical Sherry!


Fun 2014 Christmas Tutorials!


No comments:
Post a Comment
We appreciate your comments!